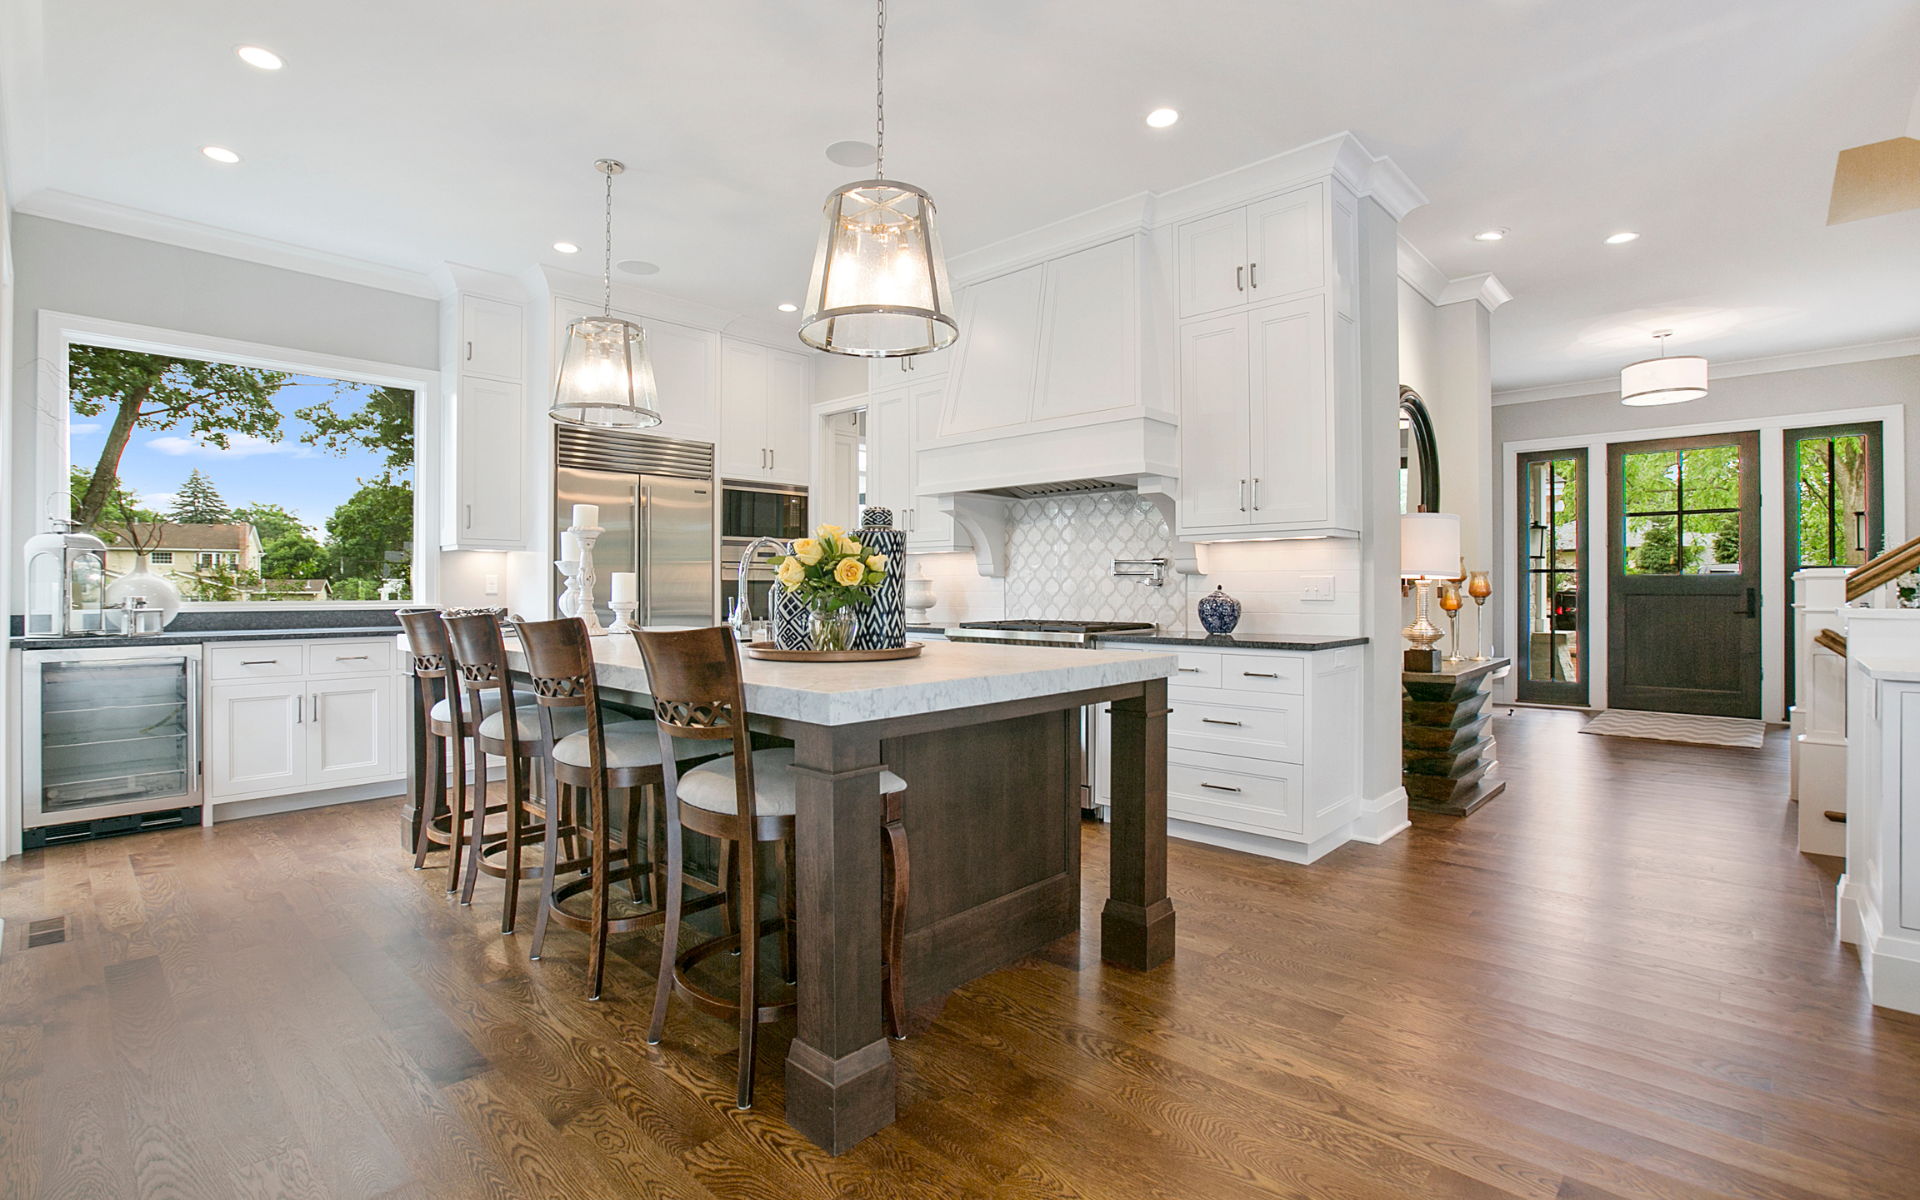
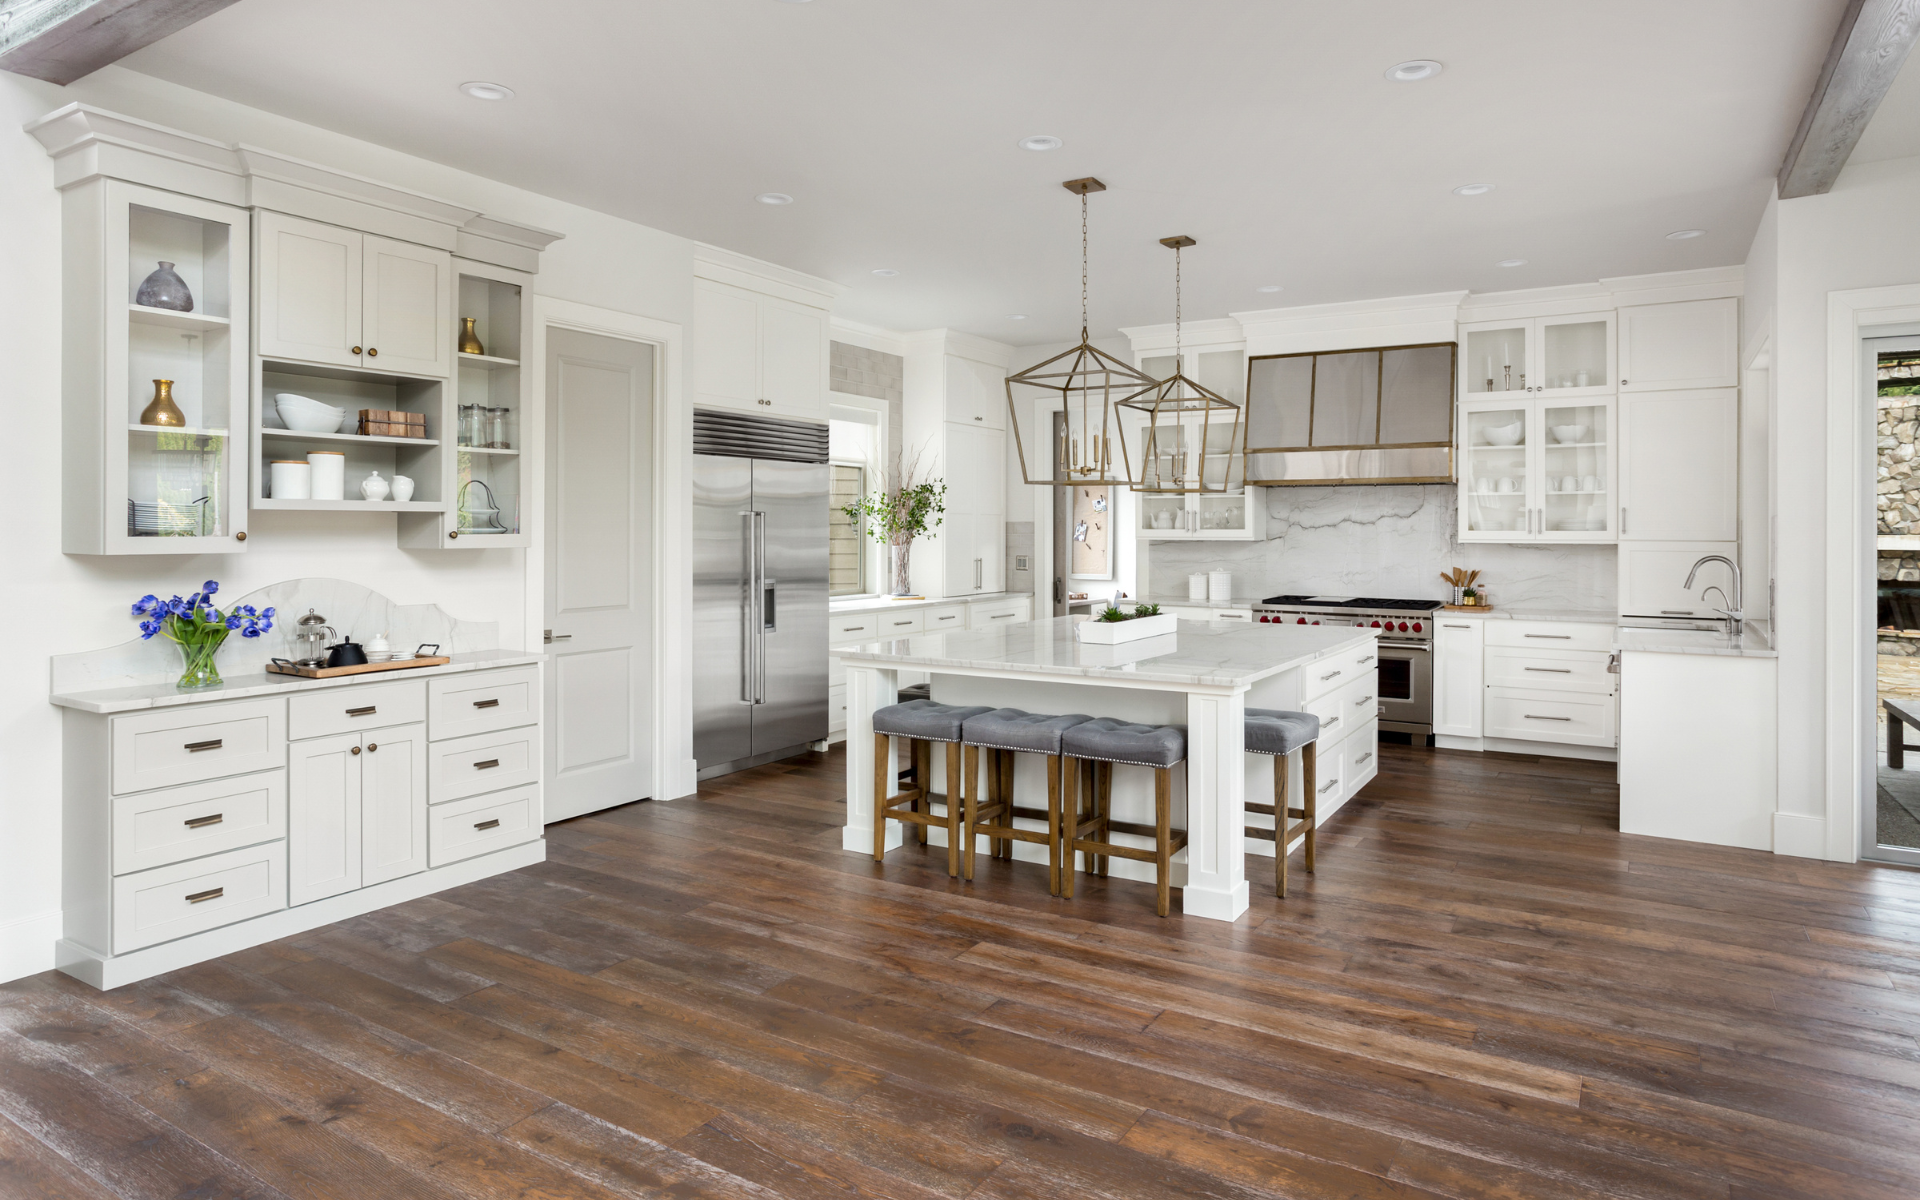
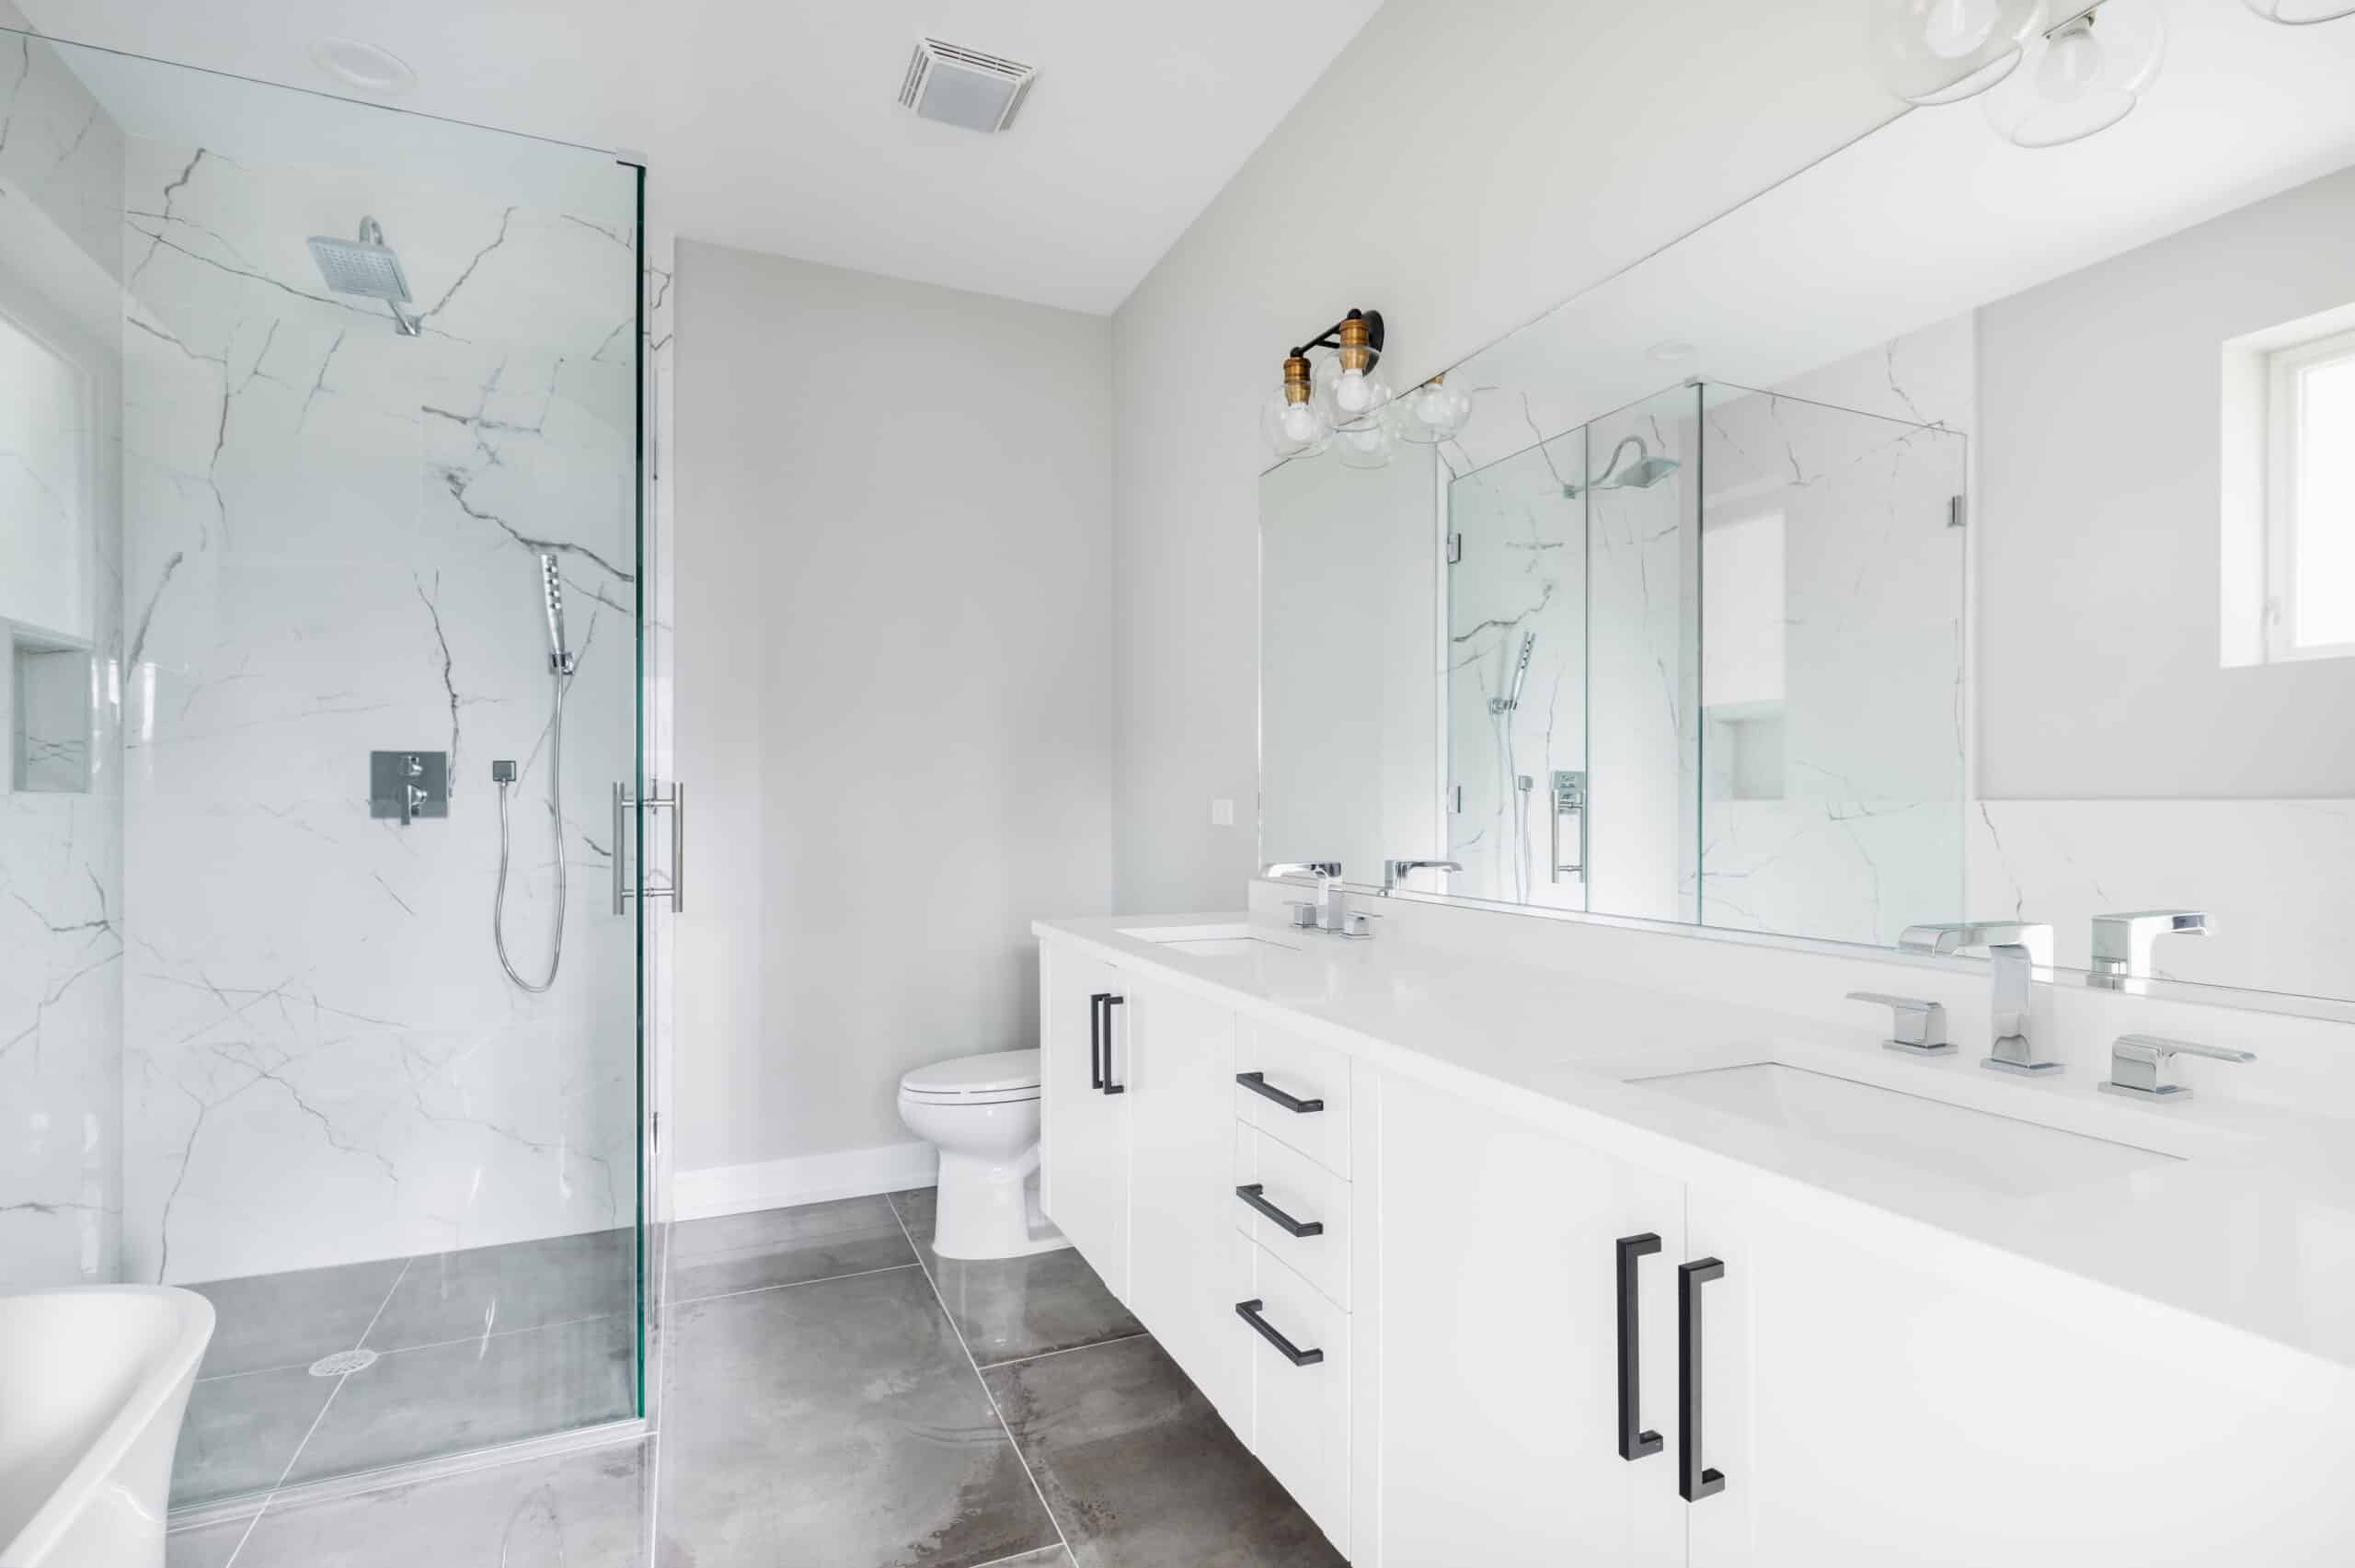
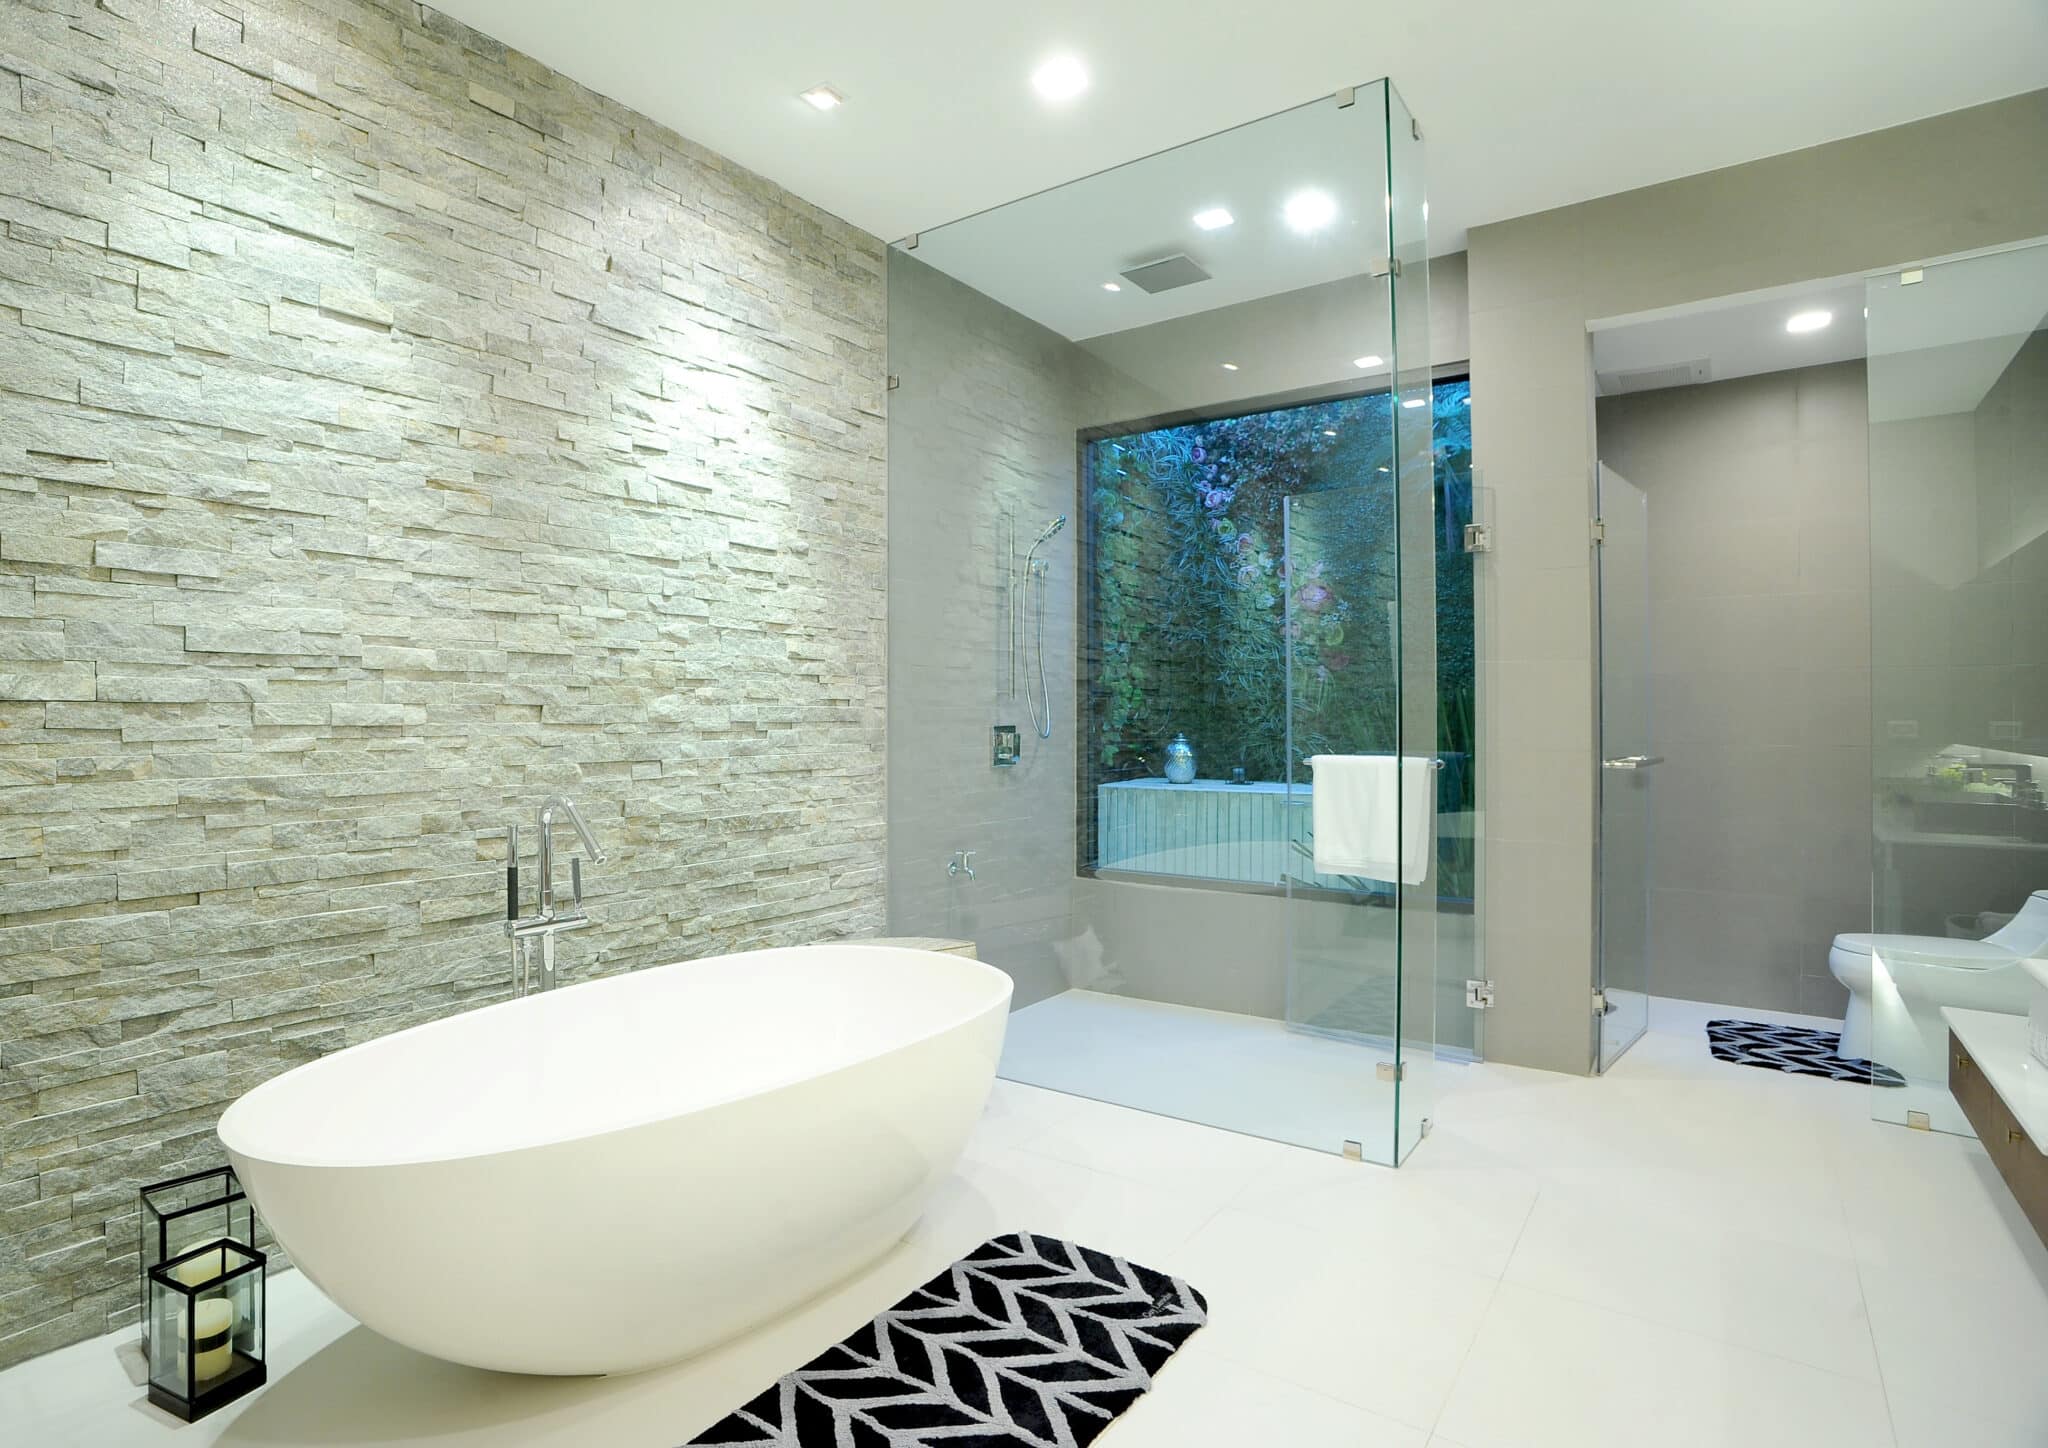
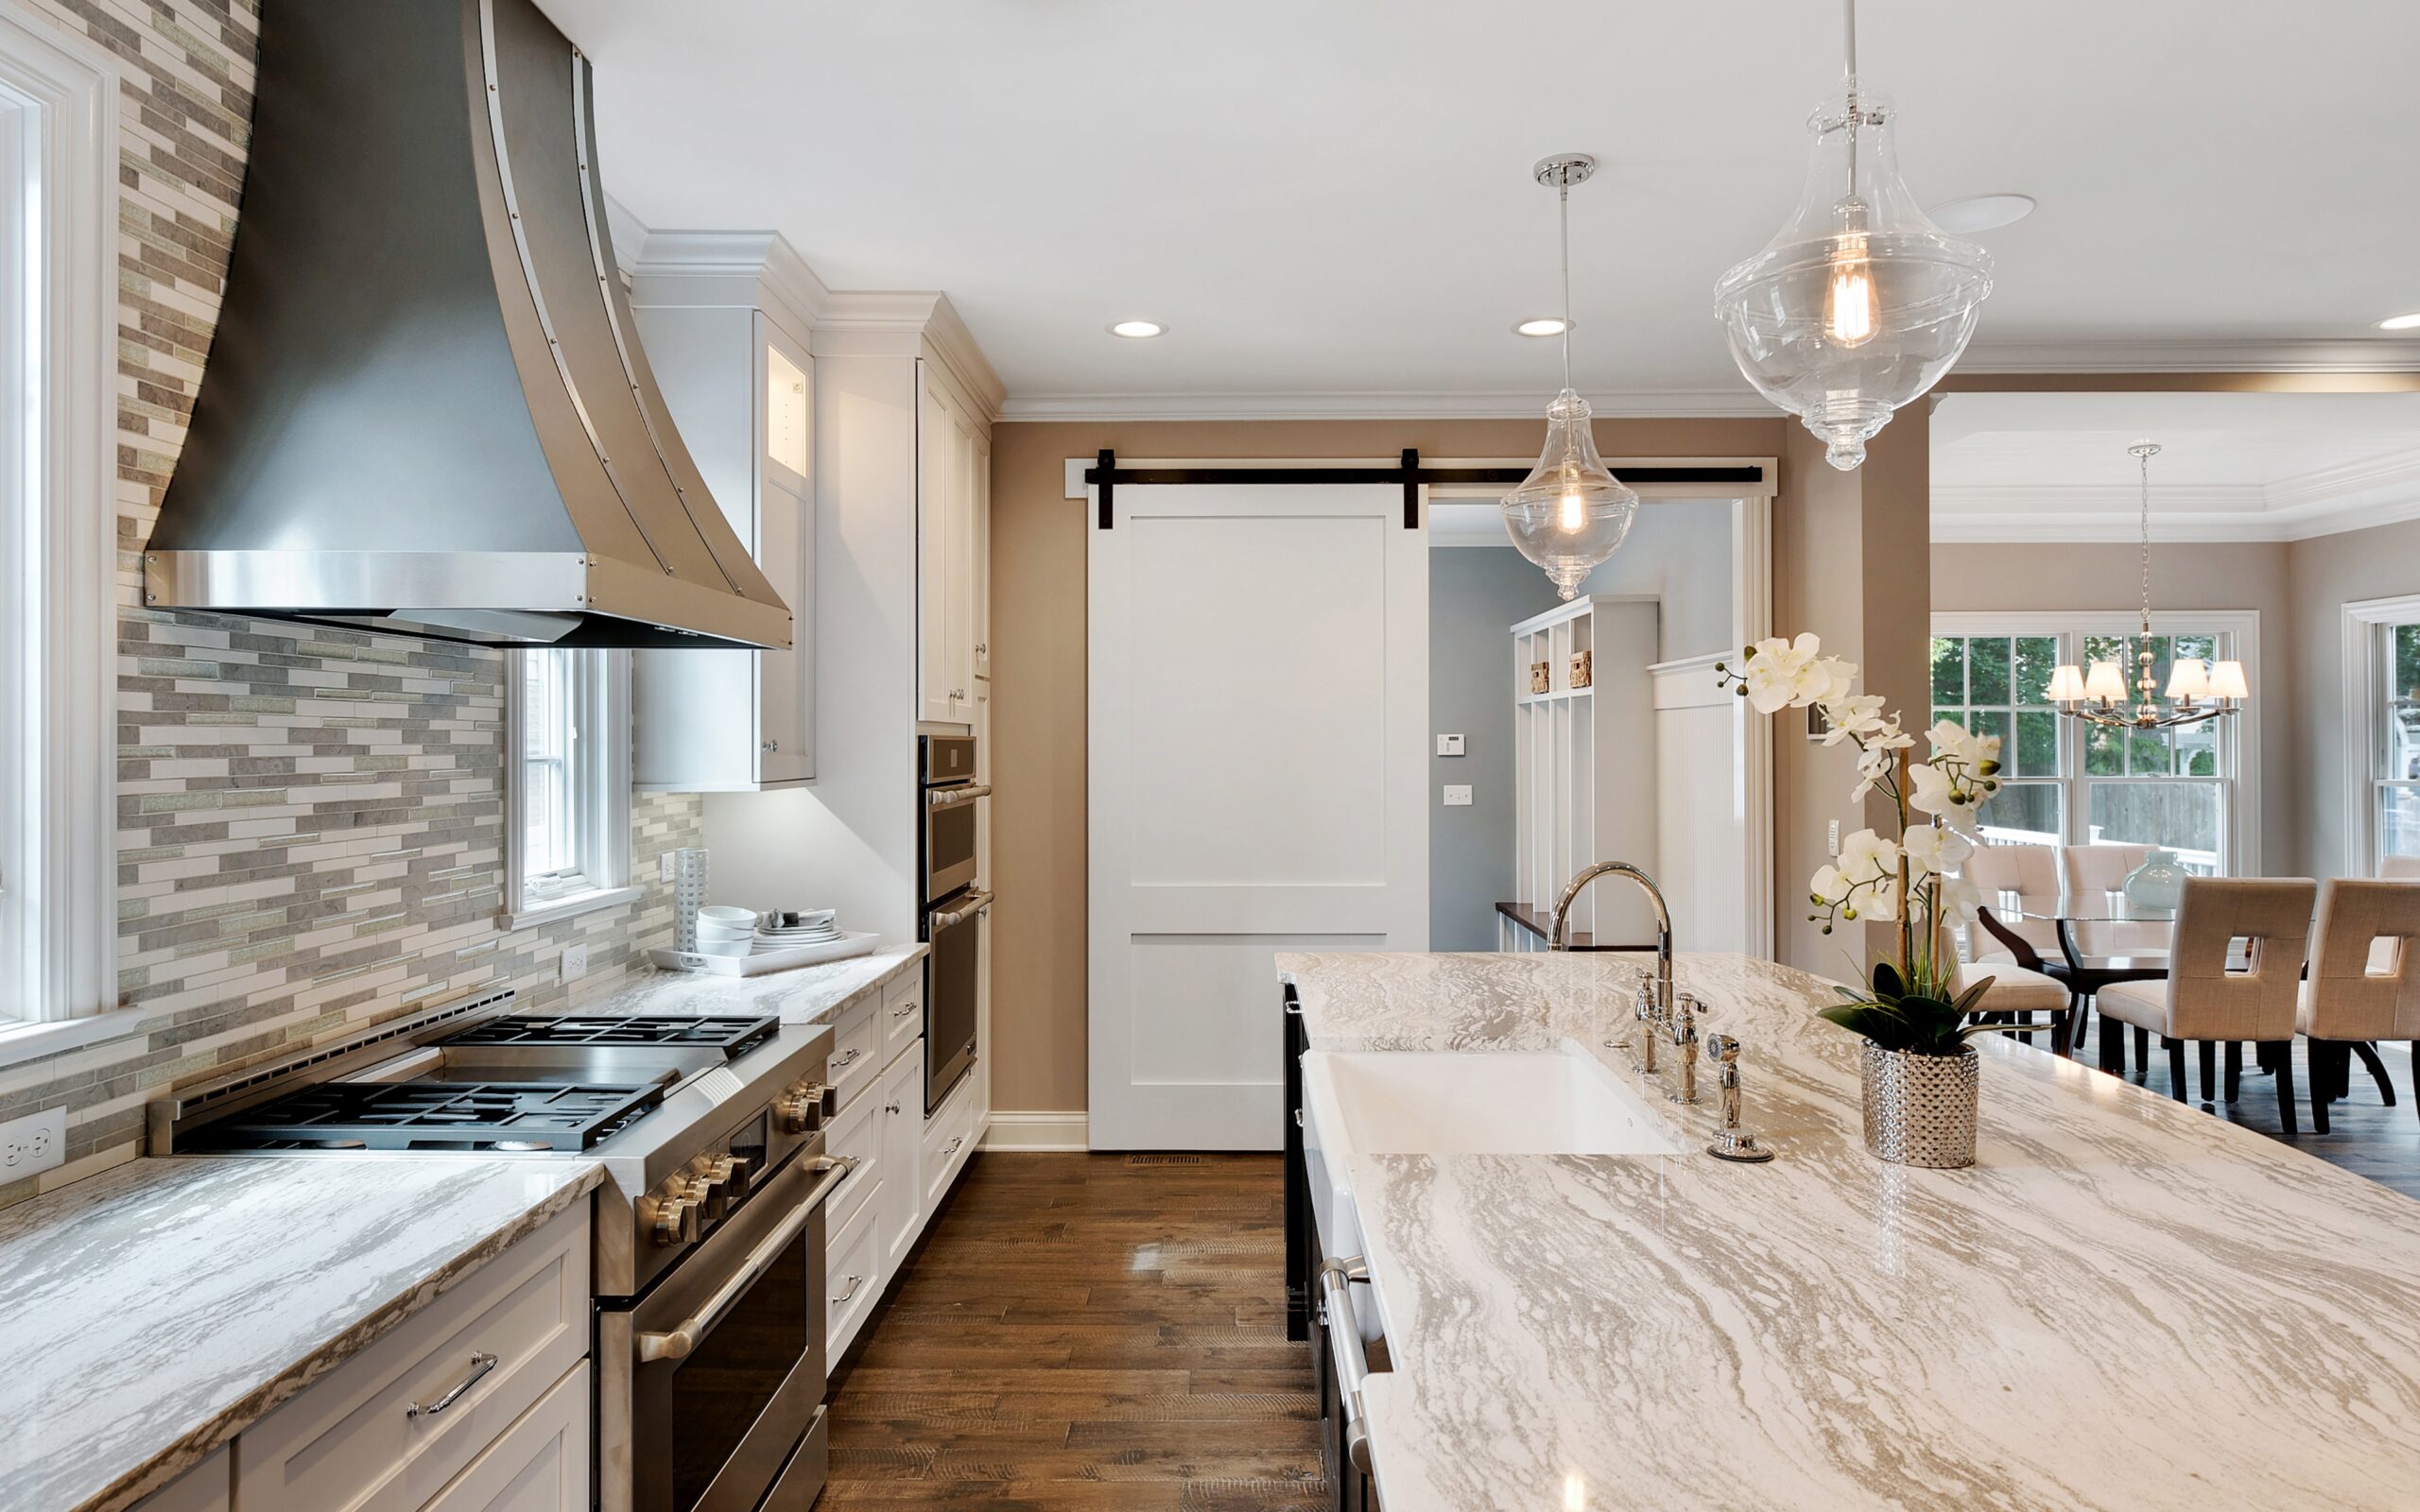
The kitchen is the heart of the home. As one of the most high-traffic areas, the flooring needs to withstand daily wear and tear. When choosing kitchen floors, you need durable, low-maintenance materials that are resistant to heat, moisture, staining, and impact damage. You also want options that fit your style, function, and comfort needs.
With so many kitchen flooring options to choose from, the decision can get overwhelming. Should you go for hardwoods, linoleum, vinyl, natural stone, ceramic tile, concrete, brick, bamboo, or cork? What are the pros and cons of each in terms of affordability, low maintenance, and easy installation? Before you go out and look for a kitchen and bath contractor, there are things you need to know.
This guide breaks down the top 9 kitchen flooring options to consider for both form and function:
1. Durable Hardwoods With Lasting Beauty
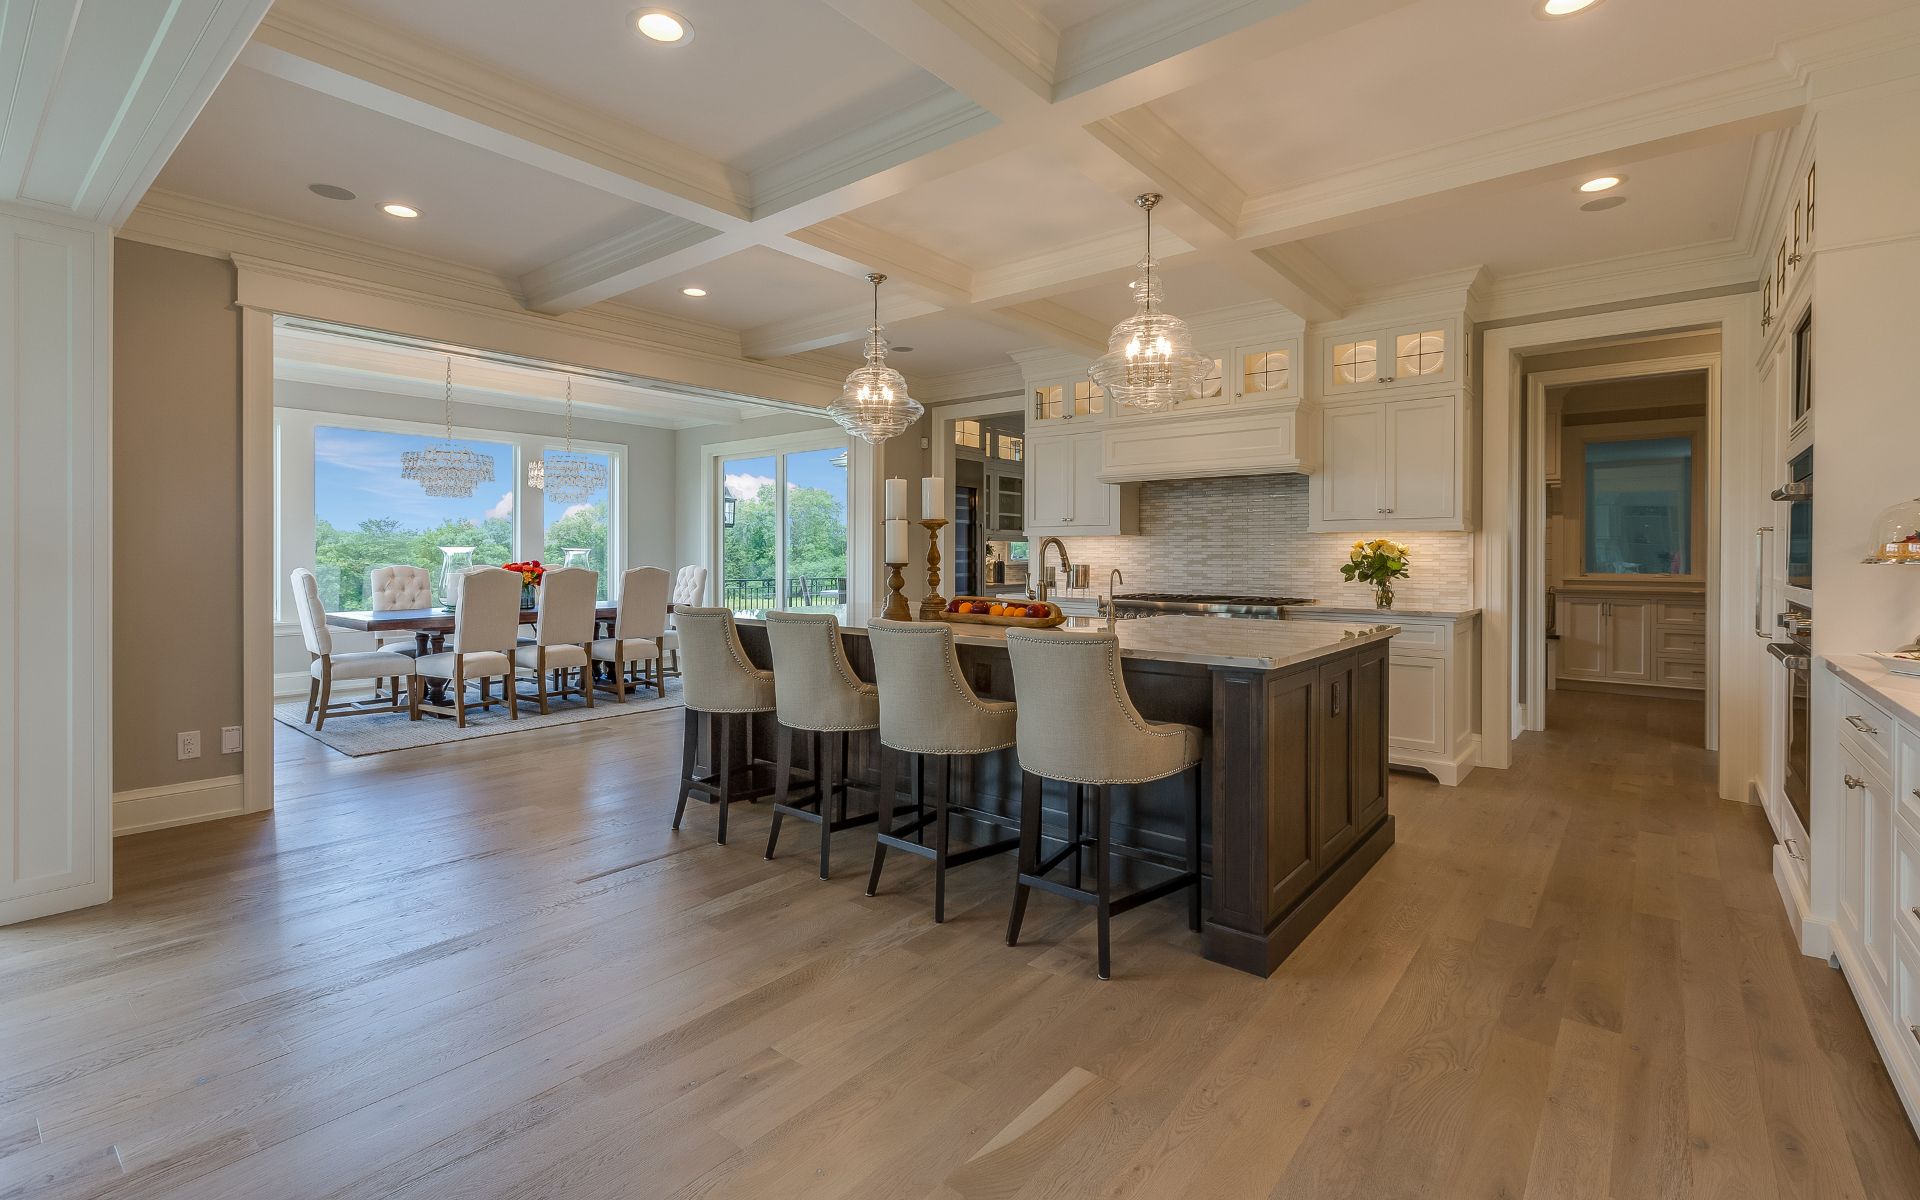
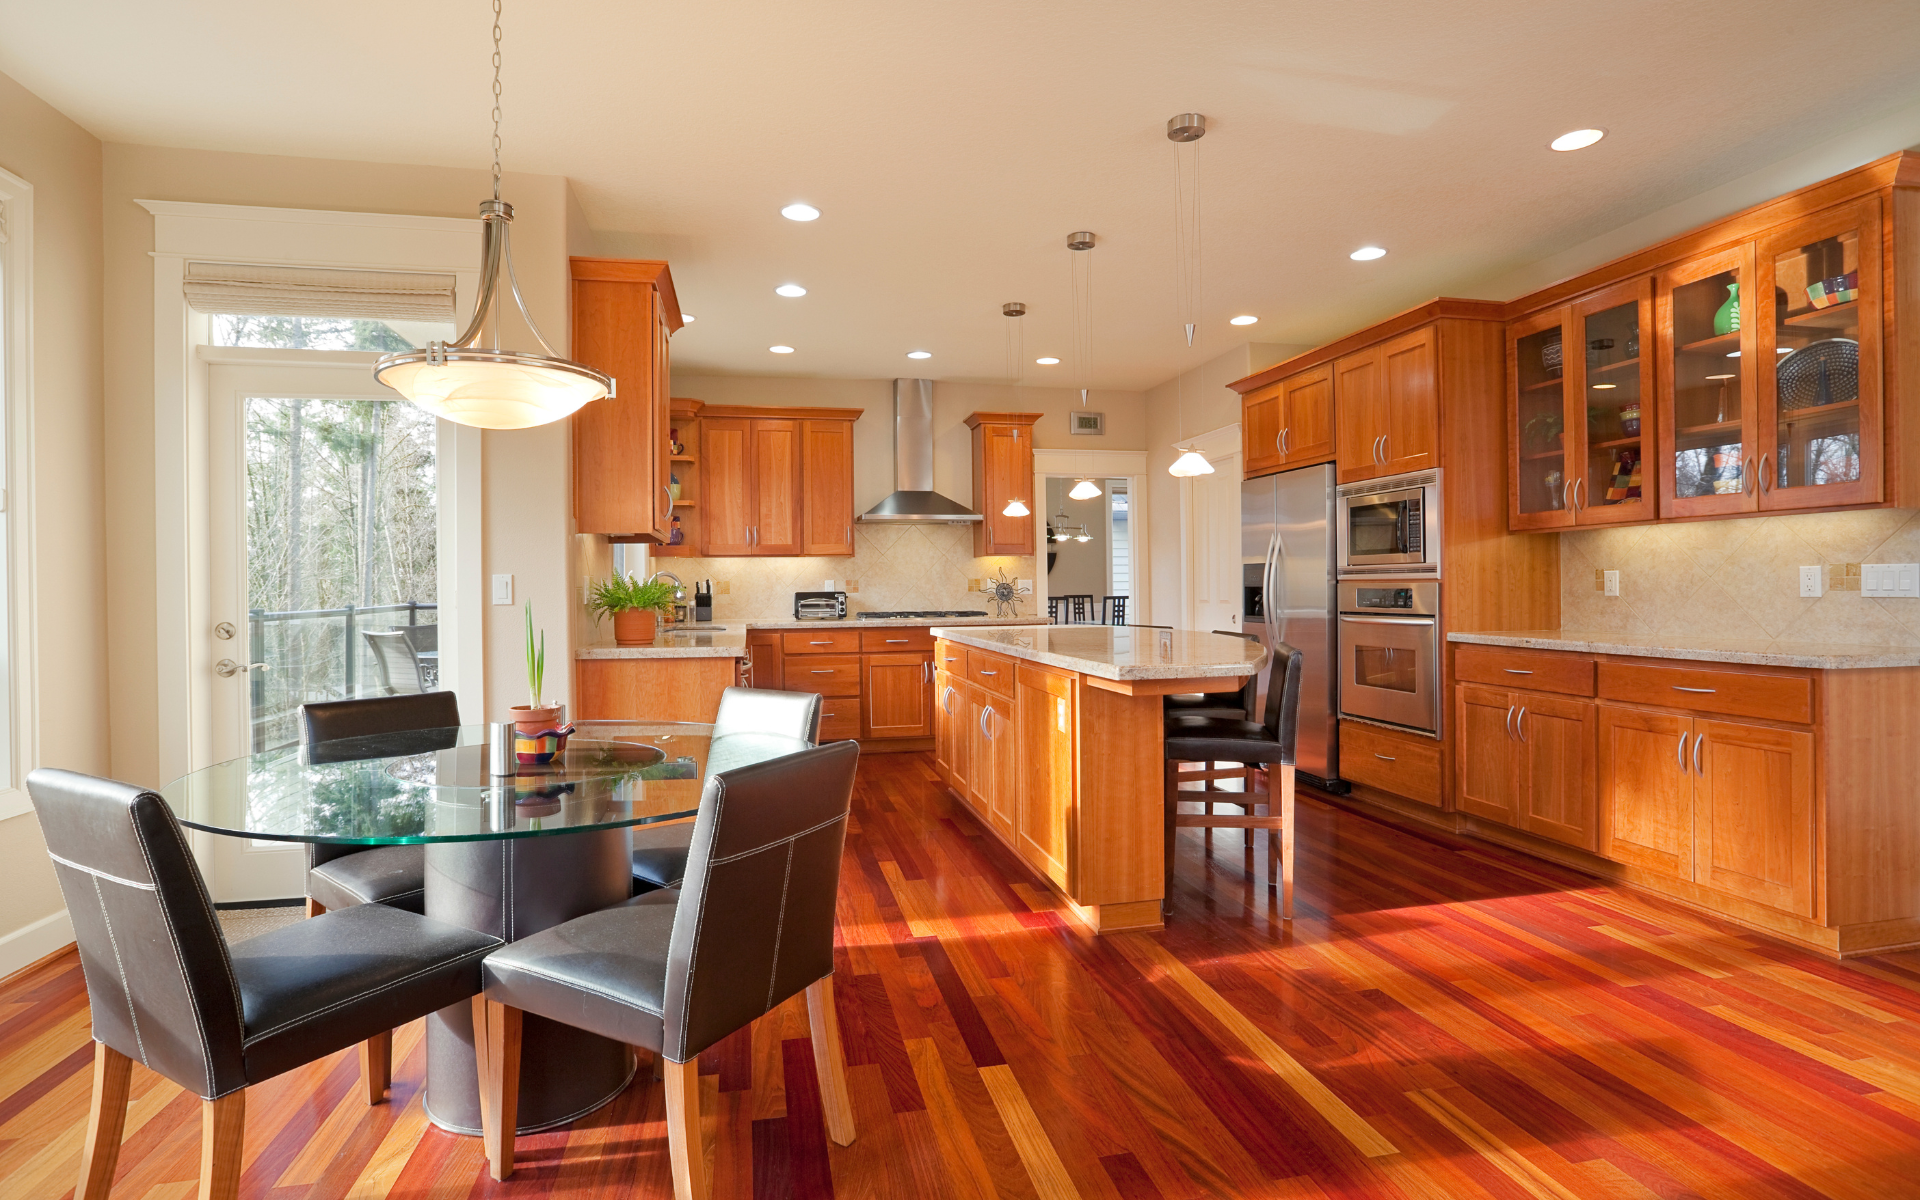
Hardwood floors never go out of style. Oak, maple, ash, hickory, and exotic woods like Brazilian cherry add natural warmth and timeless elegance to a kitchen. New engineered woods offer more stability and moisture resistance too.
While expensive, hardwoods are long-lasting when properly sealed and can be refinished instead of fully replaced. Help them hold up to heavy foot traffic by adding area rugs in high-use areas. Sweep and mop regularly with hardwood-safe cleaners.
2. Low-Maintenance Linoleum
Linoleum has come a long way from old-fashioned kitchens. Modern linoleum sheets or tiles contain natural materials like solidified linseed oil, cork dust, and wood flour. These create unique visual texture and depth.
Water-resistant and antimicrobial, linoleum stands up to spills, heat, and everyday wear. Stubborn stains wipe away easily. Seams neatly fuse floors. While linoleum costs more upfront, it lasts up to 40 years with proper care.
3. Versatile and Affordable Vinyl
Vinyl is one of the most versatile and budget-friendly options. Mix and match resilient vinyl tiles or planks to create eye-catching patterns. Layer them over existing floors for easy DIY installation.
From stone and wood lookalikes to creative prints, vinyl offers endless customization possibilities. New technologies make luxury vinyl moisture-resistant and able to mimic the texture of other materials. Some brands now add cork layers for added comfort and sound dampening.
4. Natural Stone With A Classic Look
Limestone, travertine, slate, granite, and marble create stunning kitchen floors that feel cool underfoot in summer. Each natural stone has unique veining, shading, and textures that add depth and visual appeal.
Natural stone requires sealing to prevent staining but holds up well to heavy usage over time. Opt for honed or flamed finishes to increase traction and reduce slipperiness from spills. Small mosaic tiles also provide ample grip. Proper cleaning is crucial to avoiding etching and buildup in the pores.
5. Easy-Clean Ceramic Or Porcelain Tile
Glazed ceramic and porcelain tile floors provide strong, water-resistant, and easy-to-clean options perfect for messy kitchens. From classic subway tiles to artistic patterns and designs, tile offers style versatility too.
Ceramic rates lower on the hardness scale, but costs less upfront than durable porcelain. Either tile material can last 30+ years or more with proper installation and care. Opt for textured tiles or larger grout lines between tiles to reduce the chances of slips or falls, especially when floors may get wet.
6. Sophisticated Concrete Floors
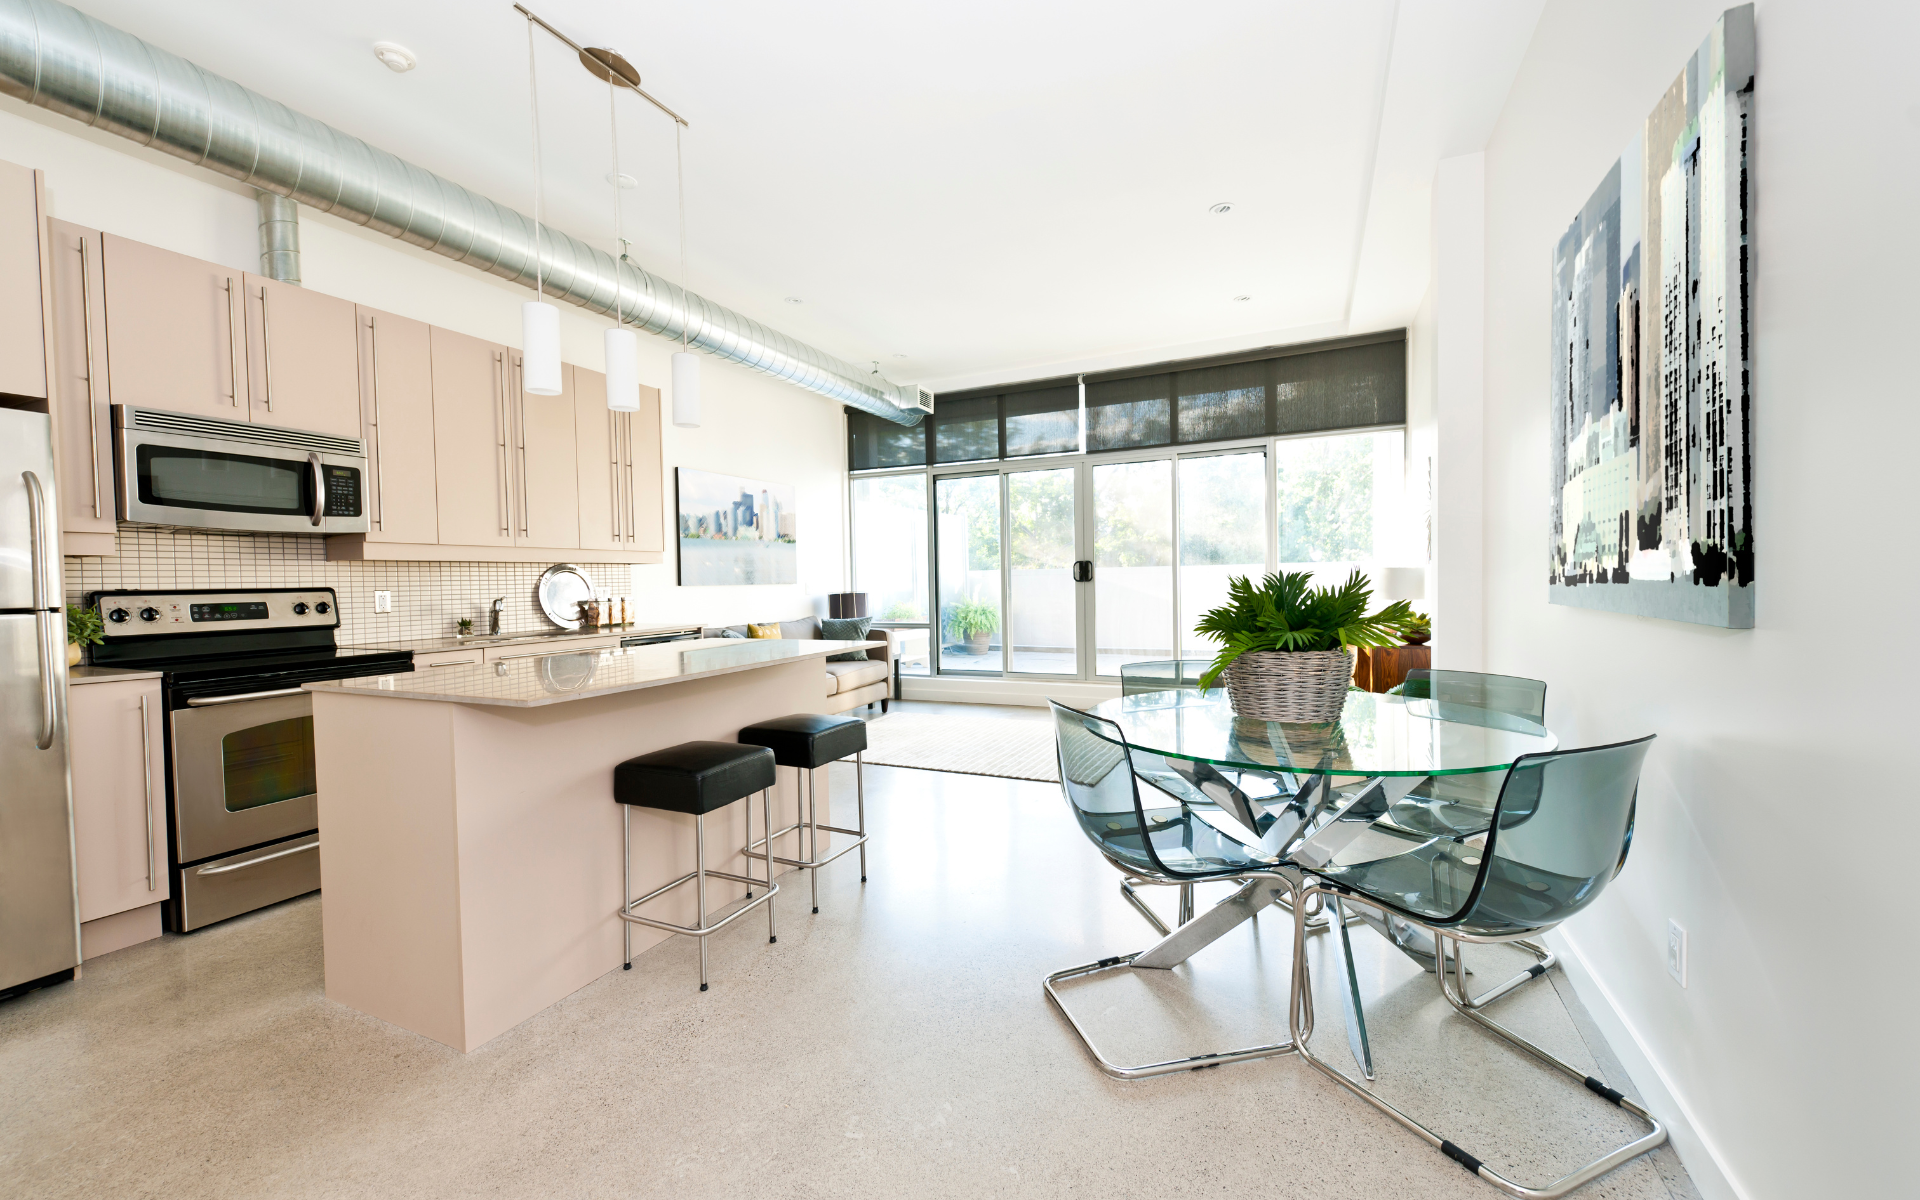
Concrete makes a sophisticated, contemporary statement in modern kitchens. Stained, stamped, or polished concrete fits industrial, rustic, or minimalist designs. Integrated radiant heating systems also work well with concrete floor slabs.
Concrete floors stand up well to heavy usage, spills, and high temperatures. However, they require extensive prep work, professional installation, and careful sealing to prevent stains. Small cracks may also develop. Combined with rugs or mats, they offer a durable, seamless floor.
7. Charming Brick Flooring
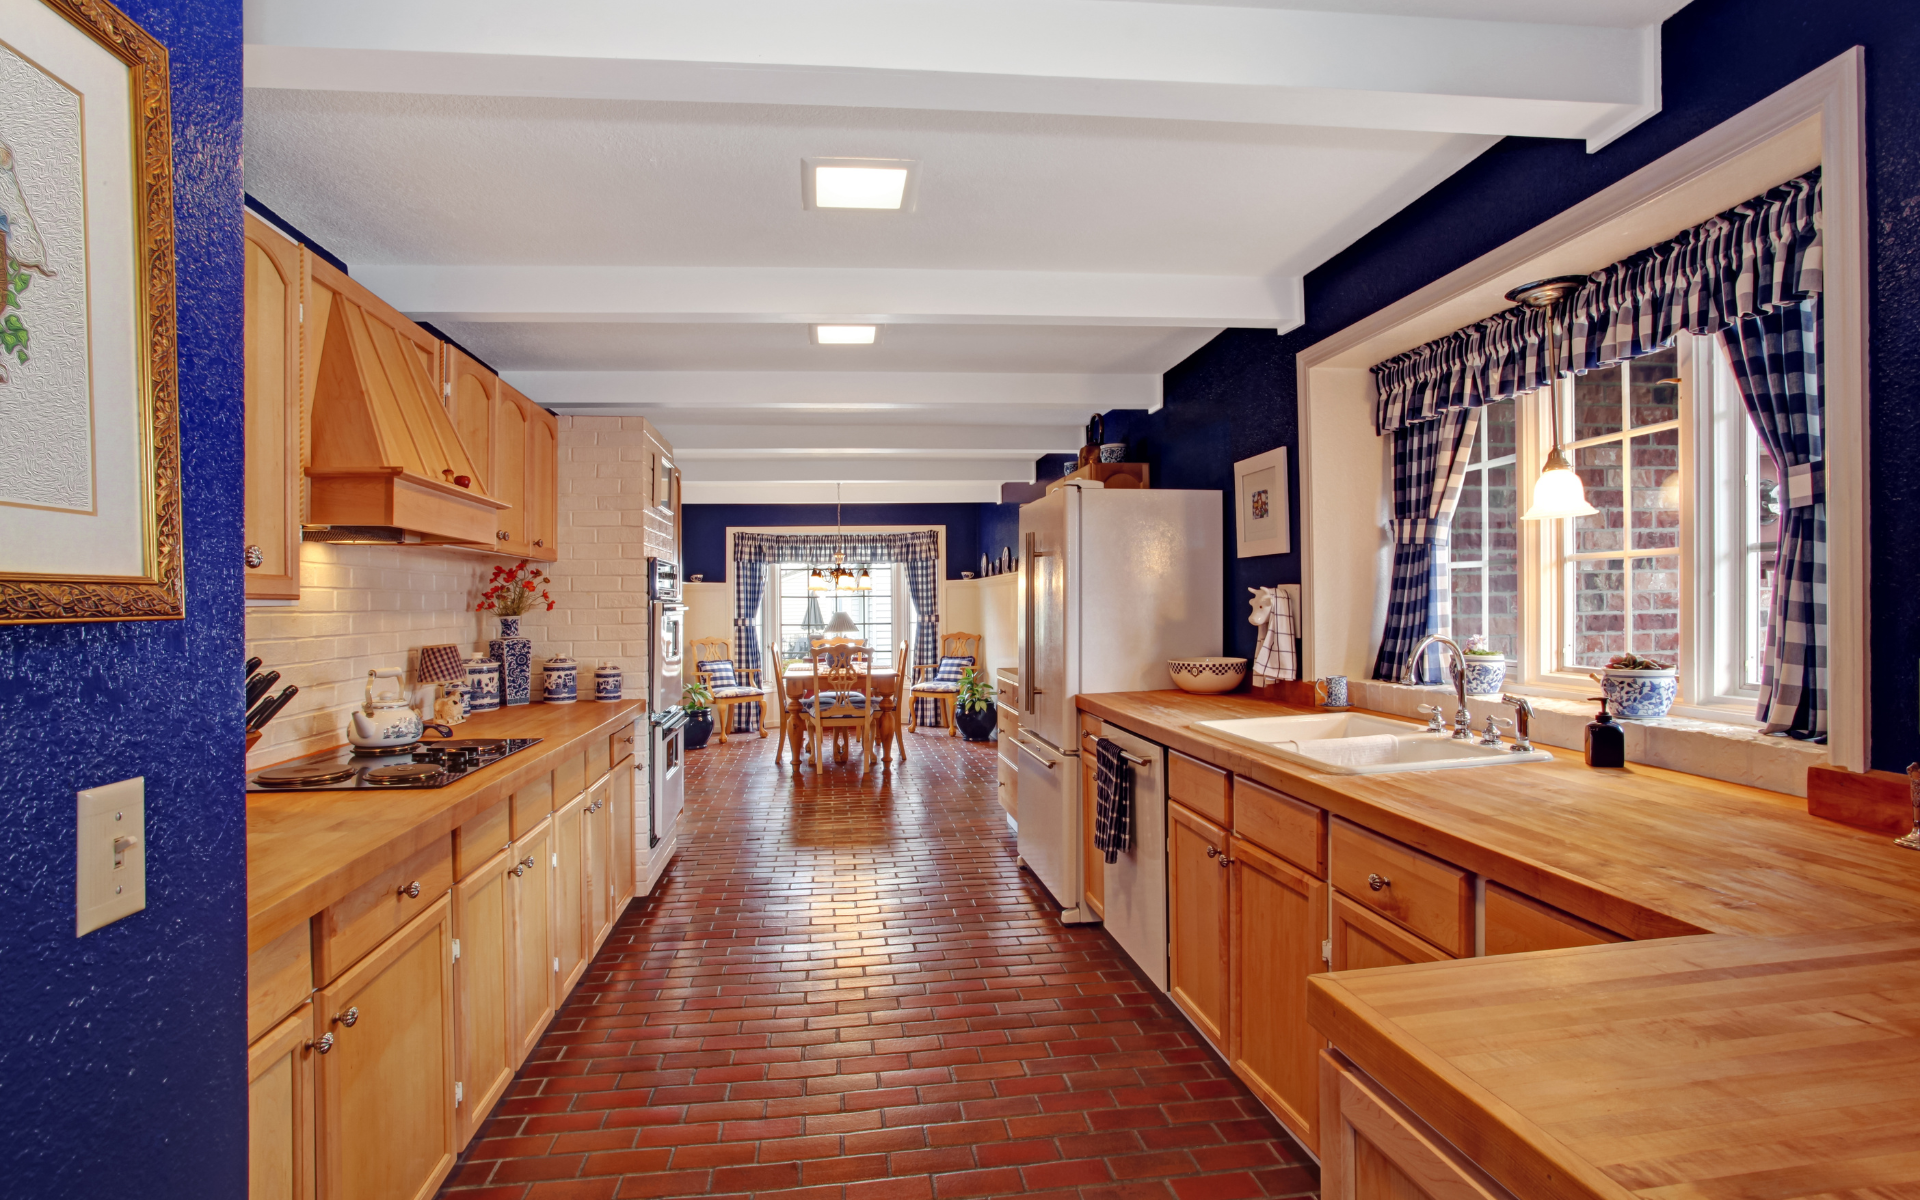
Reclaimed brick floors infuse old-world charm into kitchen spaces. Brick patterns and imperfections tell the story of previous lives over generations of use, giving new life and recycled beauty.
Set brick on sand or mortar beds over concrete and use appropriate sealers to prevent moisture issues or cracks between bricks over time. Softer bricks may gradually show more wear, scratches, or dents compared to ceramic tile or stone. But brick creates character and gives floors and slabs warmth.
8. Renewable, Sustainable Bamboo
Bamboo kitchen floors offer a sleek, modern appeal combined with eco-friendly benefits. As one of the fastest-growing and most sustainable materials, bamboo regenerates rapidly without requiring replanting. Strand-woven bamboo floors prove even more durable than oak or maple.
With proper sealing and maintenance, bamboo stands up well to heavy usage and moisture while retaining its rich color. Choose carbonized bamboo with darker tones to hide wear over time. Underfloor heating works well to prevent expansion and contraction between bamboo planks during seasonal temperature changes.
9. Naturally Comfortable Cork
Cork wins points for comfort underfoot and sound-dampening abilities. Made from compressed cork oak tree bark, renewable cork tiles or planks contain natural air pockets. This creates softness and insulation you can feel and hear with every step. Antimicrobial properties also resist mold or bacteria growth.
While softer than wood or ceramic, water-resistant polyurethane coatings protect cork floors in kitchens. Opt for lighter color unfinished cork if easy staining will bother you. Add padded mats in high-traffic zones to minimize showing wear patterns over time.
Key Considerations When Choosing Kitchen Floors
With so many options for kitchen floors, keep these key pointers in mind as you weigh the possibilities:
- Cost – Budget friendlier choices like vinyl and linoleum cost less upfront than premium materials such as natural stone, hardwoods, or porcelain tile. Remember installation and long-term maintenance costs too.
- Foot Traffic – Consider the kitchen’s size, layout, and activity levels. Where will the most usage, appliance openings, and sinks concentrate daily activity? Prioritize durable, low-maintenance materials there.
- Safety & Comfort – Flat, open floors feel spacious but slip more easily when wet. Well-grouted tile or anti-slip finishes provide better traction. Warmer, softer materials add underfoot comfort yet stain more readily.
- Noise Reduction – Concrete, ceramic, and stone reflect sound sharply. Cork, linoleum, and vinyl with foam backing absorb noise and loud echoes from appliance hums, voices, and foot traffic.
- Style Goals – Materials like concrete, brick, and natural stone make strong design statements. Traditional wood evokes nostalgia while low-maintenance linoleum and tile offer versatility. Think about the mood you want to create.
- DIY Abilities – If tackling kitchen flooring as a self-install project, choose beginner-friendly options like floating vinyl planks or peel-and-stick tiles. Other materials require extensive subfloor prep, special tools, and precise installation.
According to HGTV, one of the most attractive and functional kitchen flooring design ideas from tile patterns to polished concrete to help inspire your remodel.
Evaluating Your Current Kitchen Flooring Needs
Choosing the right kitchen flooring involves evaluating your lifestyle needs and priorities. Start by observing how your family already uses the kitchen daily and noting what works or doesn’t work about your current floor.
Key questions to ask:
- What level of foot traffic do you expect? Does the kitchen anchor adjacent dining or living areas that expand usage?
- Do family members cook often or just reheat leftovers? Lots of baking, frying, and boiling can increase moisture and staining risks.
- Will parties or large family gatherings increase periodic usage spikes? Holiday cookie swaps or potlucks may dictate durability needs more so than everyday wear-and-tear.
- Do you prefer bare floors or rugs in cooking zones? Evaluate warmth, sound-dampening abilities, and non-slip qualities with and without mats or rugs.
- Do you thrive on big messes and projects – or stress over every sauce stain or pet accident? Opt for stain-resistant durable materials if upkeep makes you anxious.
Observe your cooking habits and how you circulate from appliances to determine high-traffic loop routes. Also, inspect floors under movable appliances and pull away from walls to evaluate evenness and hidden damage spots. Use these insights to inform better kitchen flooring decisions to suit your lifestyle.
Installation Tips For Getting Your New Kitchen Floors Right
Proper installation makes or breaks flooring no matter what material you choose. Rushing to install floors without adequate subfloor prep or using sloppy techniques leads to bigger long-term problems or higher kitchen remodeling costs. Follow these best practices for getting your new kitchen floors right from the start:
Prep Properly First
- Inspect Subfloors – Check for uneven spots greater than 1⁄4” across 3-4 foot spans and damage that needs patching first.
- Clean Thoroughly – Eliminate all grease residue, waxes, adhesives, and other pre-existing gunk so floors properly adhere.
- Address Moisture & Radiant Heat – Test for proper moisture content and pH levels using meters. Turn on radiant heating systems in advance to eliminate residual moisture if present.
- Acclimate Flooring on Site – Open boxes and allow the flooring to adjust to job site humidity and temperatures for 72+ hours beforehand.
Follow Material Install Specs
- Customize for Needs – Opt for suitable underlayments and subfloors where needed to improve insulation or soundproofing.
- Use Proper Prep Materials – Choose appropriate levelers, repair compounds, primers, and adhesives for each specific flooring type. Don’t substitute or take shortcuts.
- Allow Ample Expansion Gaps – Leave adequate room between flooring pieces and perimeter walls for materials to expand and contract during seasonal temperature and humidity changes without buckling.
- Stagger Planks Properly – Break up obvious seams between planks, tiles or sheets so they don’t line up in orderly grid patterns for better strength and visual flow.
- Roll & Weight After Laying – Eliminate any lingering air bubbles between subfloor and floor materials to maximize durability.
Consumer Reports helps you choose the best material for your budget and lifestyle needs, rating options from vinyl to engineered hardwood on factors like sustainability, slip resistance, and scratch-proofing ability.
Seal & Protect Post-Install
- Finish With Appropriate Sealers – Most flooring needs protective sealers, waxes, or finishes after installation (and periodically ongoing) tailored to material types to prevent damage. Don’t skip this crucial step!
- Avoid Regular Foot Traffic Initially – Keep heavy usage, appliance moves, furniture placement and even mopping limited at first so floors properly cure and bond without shifting or compressing.
- Add Furniture Pads & Mats – Protect high-traffic zones around sinks, stoves, and prep areas with cushioned anti-fatigue mats to limit wear and scratches.
Proper planning, patience, and care taken during each installation step give kitchen floors the best possible start. Don’t cut corners initially to save time or money. Doing installation right the first time prevents bigger headaches down the road!
Caring For Kitchen Floors Over the Long Haul
Installing new kitchen floors marks just the first step. Appropriate ongoing care and maintenance keep them looking beautiful while maximizing durability. Follow the manufacturer’s recommendations for regular upkeep tailored to each flooring material in your kitchen.
In general, though, these maintenance dos and don’ts apply:
Do’s
- Sweep & Mop Often – Frequently eliminate everyday dust, crumbs and spills from floors before they accumulate and embed. Spot clean stains quickly.
- Add Rugs In High Traffic Areas – Protect zones around appliances and prep spaces with cushioned rugs. But avoid rubber backings that discolor many flooring types. Clean rugs regularly.
- Follow Recommended Cleaning Products – Use cleaning solutions specially formulated for each flooring type. Avoid generic cleaners with harsh chemicals or abrasives that damage protective finishes.
- Reapply Sealers & Finishes – Enhance shine and restore protective qualities in top layers as needed per product guidelines. Buff gently.
- Adjust Cleaning Approaches Seasonally – Use dehumidifiers and fans to circulate air during wet, humid summers. Opt for damp instead of wet mopping then.
Don’ts
- Neglect Routine Maintenance – Skipping regular sweeping, mopping, and seasonal floor care eventually takes a toll on durability and appearance.
- Use Abrasive Scrubbers or Scouring Powders – Aggressive scouring damages protective finishes that keep floors stain-resistant and easy to clean.
- Over-Wet Floors – Excess standing water that penetrates floors harbor mold and causes lasting water damage over time.
- Place Appliances or Furniture Directly on Floors – Use furniture cups, rounded felt pads, and appliance mats.
- Roll or Slide Heavy Objects Around – Lift instead of dragging appliances, furniture, toolboxes, or anything substantial during cleaning. It prevents scratches and dents.
A small amount of consistent kitchen floor care prevents far larger repair or replacement costs down the road. Set reminders to maintain positive floor care habits!
When to Call In A Pro for Kitchen Flooring
While some kitchen flooring like vinyl or laminate offers user-friendly DIY installation, other materials require hiring experienced flooring contractors. Don’t bite off more than your skill level allows. Attempting intricate tile designs or natural stone installations without adequate expertise often ends badly.
Seeking professional installation also makes sense if your kitchen renovation requires:
- Concrete staining, polishing, or etching for decorative finishes
- Custom-cutting patterned tiles or inlays
- Natural stone cutting for unique edge details
- Hardwood installations over radiant heating systems
- Leveling or repairing uneven subfloors
- Water damage repairs or asbestos abatement
- Specialized tools like wet saws for materials requiring exacting cuts
When selecting flooring pros, check reviews and verify experience levels with your specific kitchen flooring material. Ask about their subfloor prep process and what brands of leveling compounds, adhesives, or mortars they recommend. Reputable contractors offer robust warranties too for bigger peace of mind on major investments.
While DIY projects allow you to save on labor costs, precision work or tricky installs often benefit from seasoned experts. Their workmanship leads to better long-term performance. Spend your energy enjoying the updated kitchen instead of struggling with corrective renovations from regrettable DIY attempts.
Achieving the Perfect Balance of Form & Function
When tackling a kitchen remodel or floor replacement, it’s easy to get tunnel vision focusing only on functional performance needs. But don’t forget about aesthetics and design enjoyment too! The most successful kitchen flooring blends these priorities beautifully.
Aim for low-maintenance materials in high-traffic zones that hold up to messes from family living. Yet even durable linoleum or porcelain tile offers countless patterns, textures, and colors to complement your decorating vision. Dress up neutral tones with eye-catching rugs.
Conversely, don’t sacrifice too heavily on function solely for design appeal. Tempting open shelves or pretty cracked grout quickly lose their charm when requiring intensive daily upkeep or replacement every couple of years. Seek reasonable compromise.
At the end of the long day, floors support our everyday lives but also affect how we feel in spaces. Identify kitchen zones where durability matters most, whether around stoves and sinks or heavily used entryways and transitions. Then have fun adding stylistic flair with on-trend materials, colors, and textures throughout areas with lighter wear.
Blending sensible function with elevating design creates warm, welcoming kitchen floors you enjoy for years of memory-making meals together. Find that sweet spot between priorities for happy floors!

